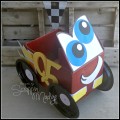
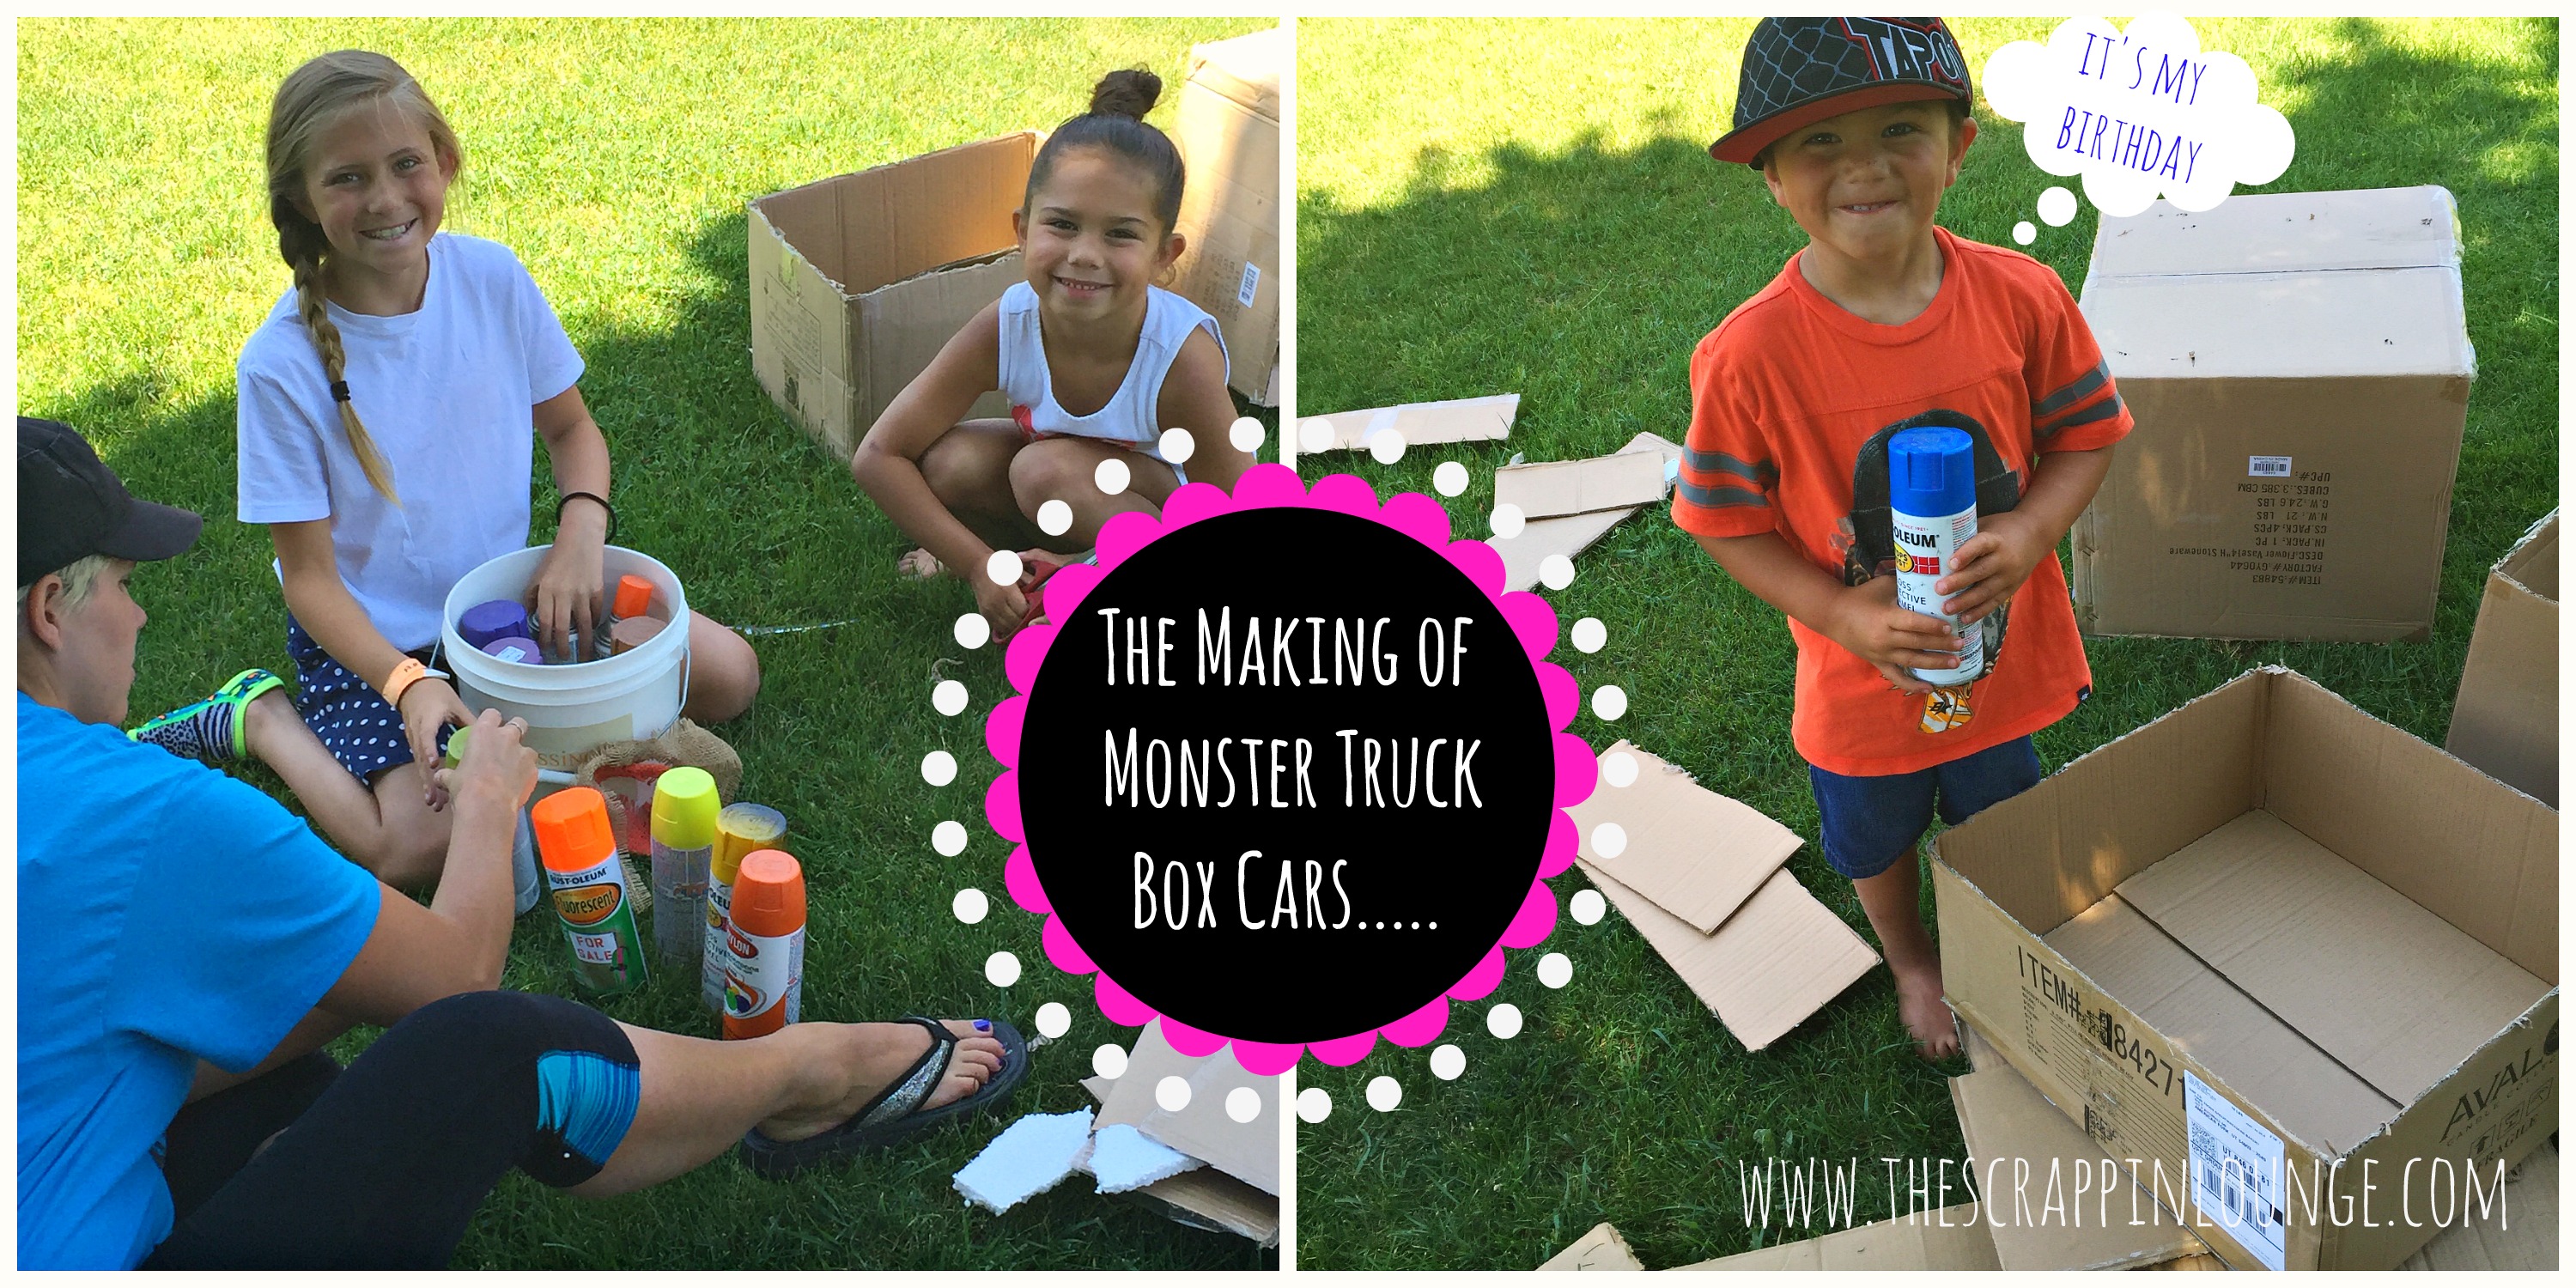
Hello, Hello Friends!! As promised in my previous post (Lightning McQueen Box car) I told you that I would bring to you a step by step tutorial on how to make these cute little box cars along with sharing a fun birthday party. My sister and I worked on these cars together and it was a blast!!! I am also including a quick video clip of our Race Track obstacle course.
***Warning there are a lot of pictures in this post***
Let’s get started with the first steps…..
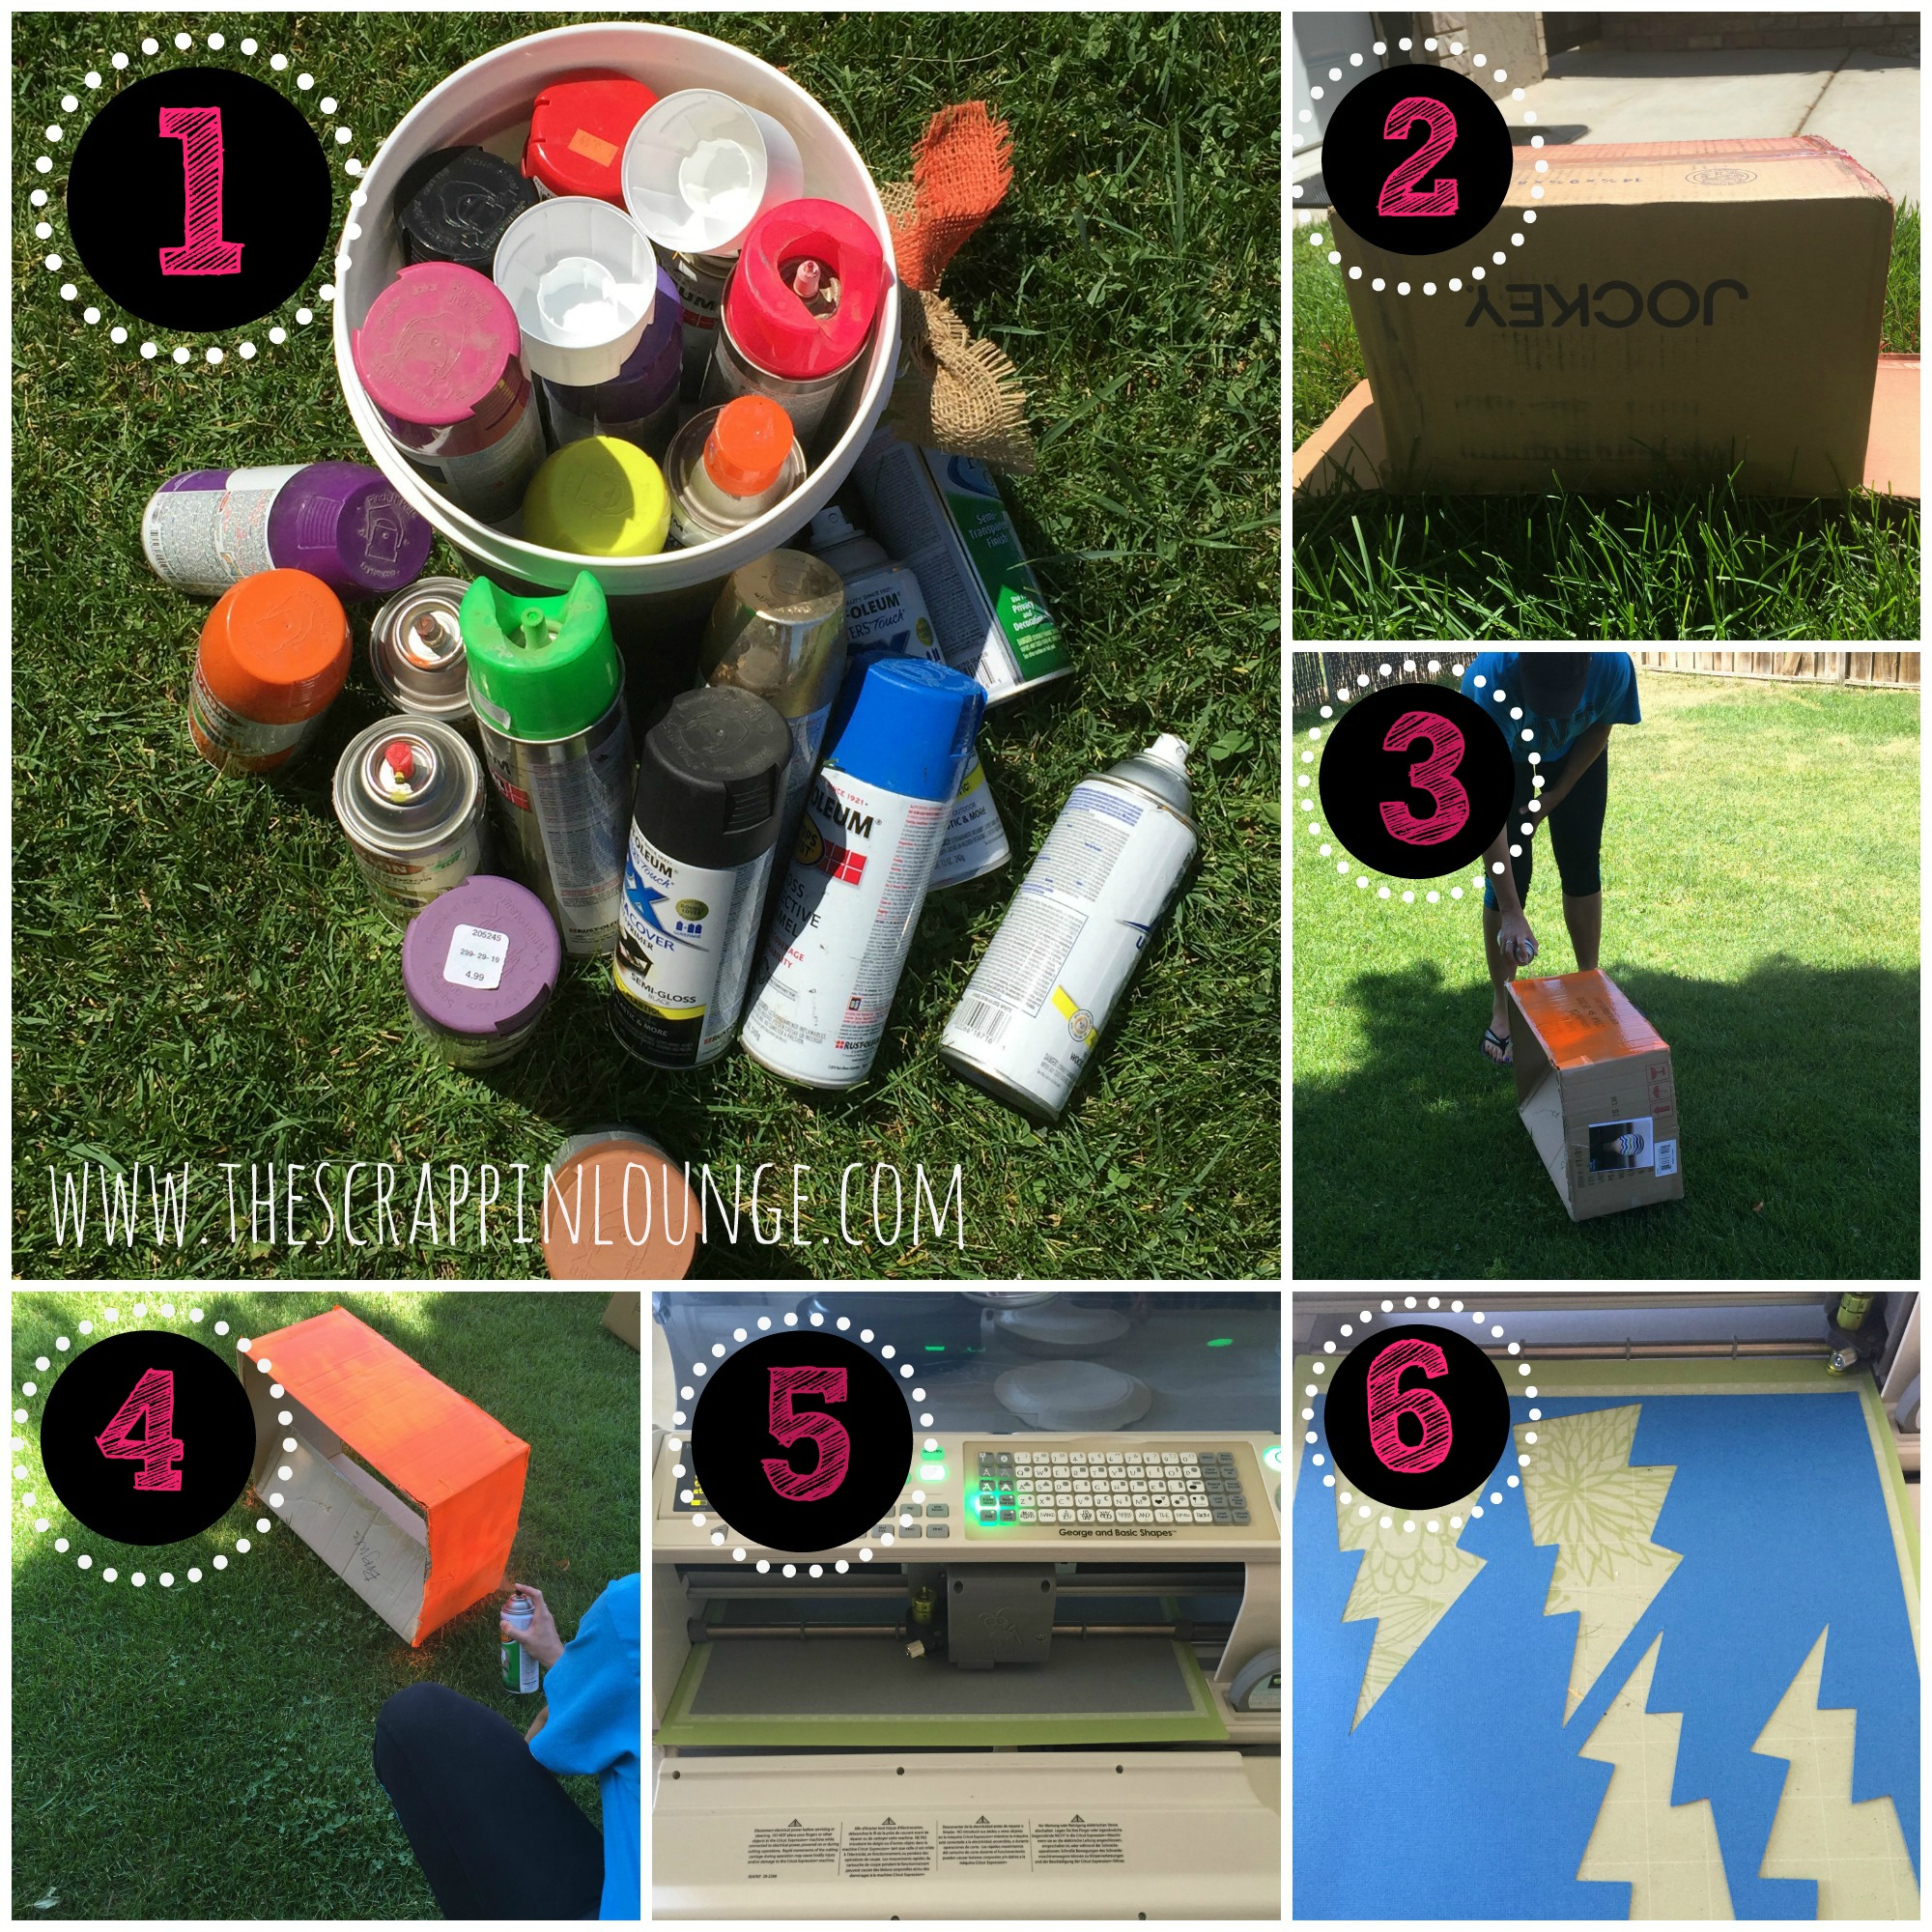
Step 1. Gather all of your spray paints
Step 2. Get a cardboard box, take the bottom out of the box by cutting the flaps off. Only do the bottom, if you do the top and bottom then your car will be a little flimsy
Step 3. Decide which spray paint color you would like to use. We found that the darker the spray paint the better the coverage, but the light colors work too, it just takes a couple more coats of paint. Spray your box.
Step 4. Fold the flap from the top of the box inside.
Step 5. Use a Cricut and the cartridge George and Basic Shapes. I made my circles for the insides of my wheels 3″ using Gray Cardstock. I also made the lightning bolt decals from the Rock Princess Cartridge. I used different sizes for different sizes of boxes. I did a shadow and a layer so it gave the lightning bolts more dimension.
Here are the other supplies that you will need.
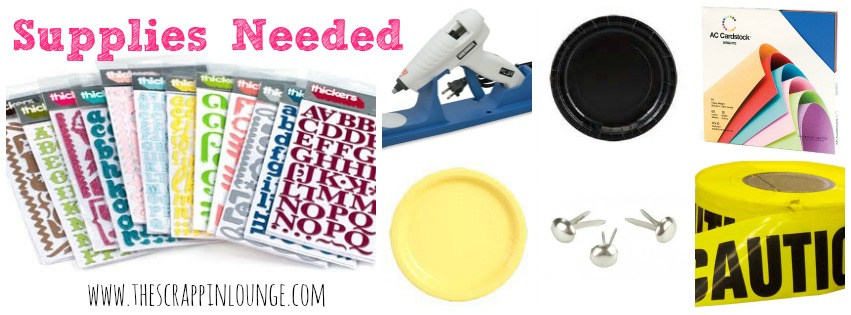 I used Thickers and Cardstock from American Crafts. We bought small paper plates and large black paper plates at the Dollar Tree. Silver Brads from Michael’s, and I used my cordless hot glue gun (that I love) from Hobby Lobby, and Caution tape from Home Depot.
The next couple steps are easy.
- Take the black paper plate and poke a hole in four of them.
-
Take the grey circles and brads and attach the grey circle to the black paper plate.
-
Hot Glue the black plates onto both sides of the box car creating the tires.
-
Add decals (lightning bolts) using the Hot Glue gun.
-
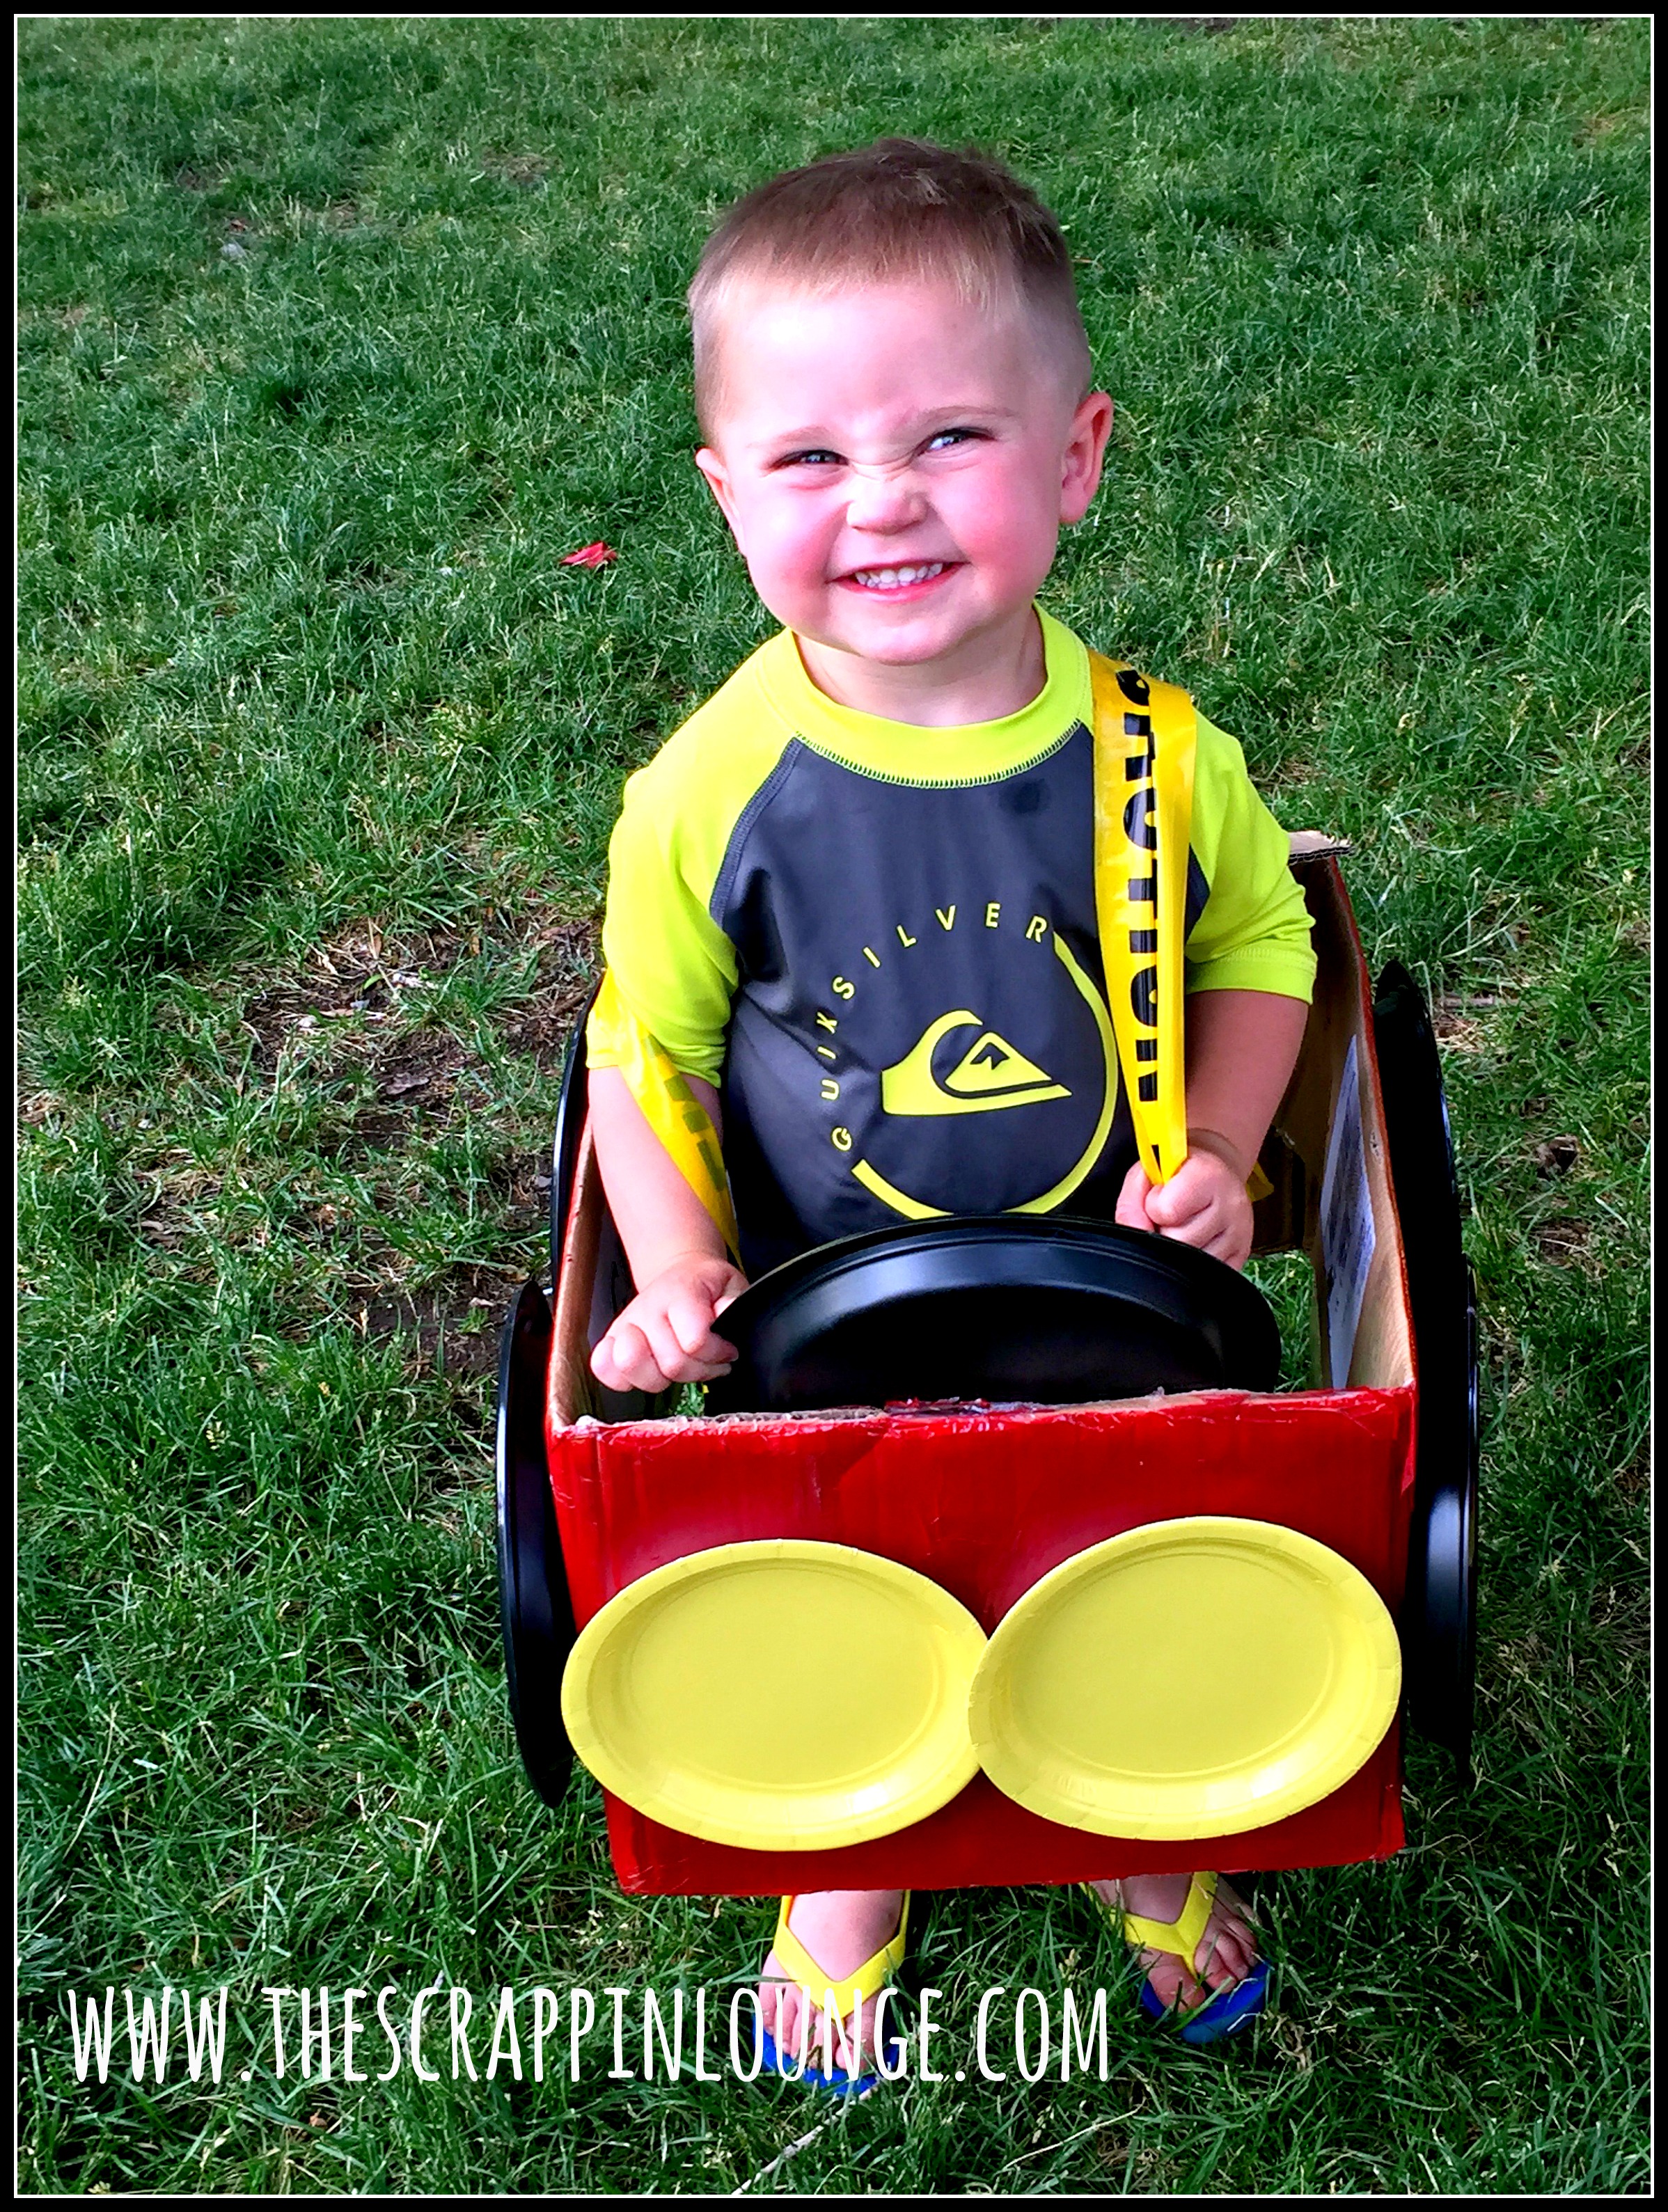
Take two small yellow plates and Hot Glue them to the front of your car for lights.
-
Take one black plate and Hot Glue on the inside of the box same side as the lights to create the steering wheel.
-
Cut a rectangle 4×7 out of white cardstock to create the license plate. I then used the Thickers to add the childs name to the back of their cars, giving them a customized look.
-
Take a sharp object and cut a hole on each side of the box and tie some Caution Tape to make the straps to go over the shoulders.
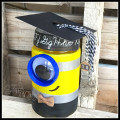
Your Monster Truck Box Car is now complete. And Yes, that is a Pink Car isn’t it cute!!
 Now let’s check out these cars at the starting line shall we?
Here are the box cars all lined up waiting for their drivers. (front)
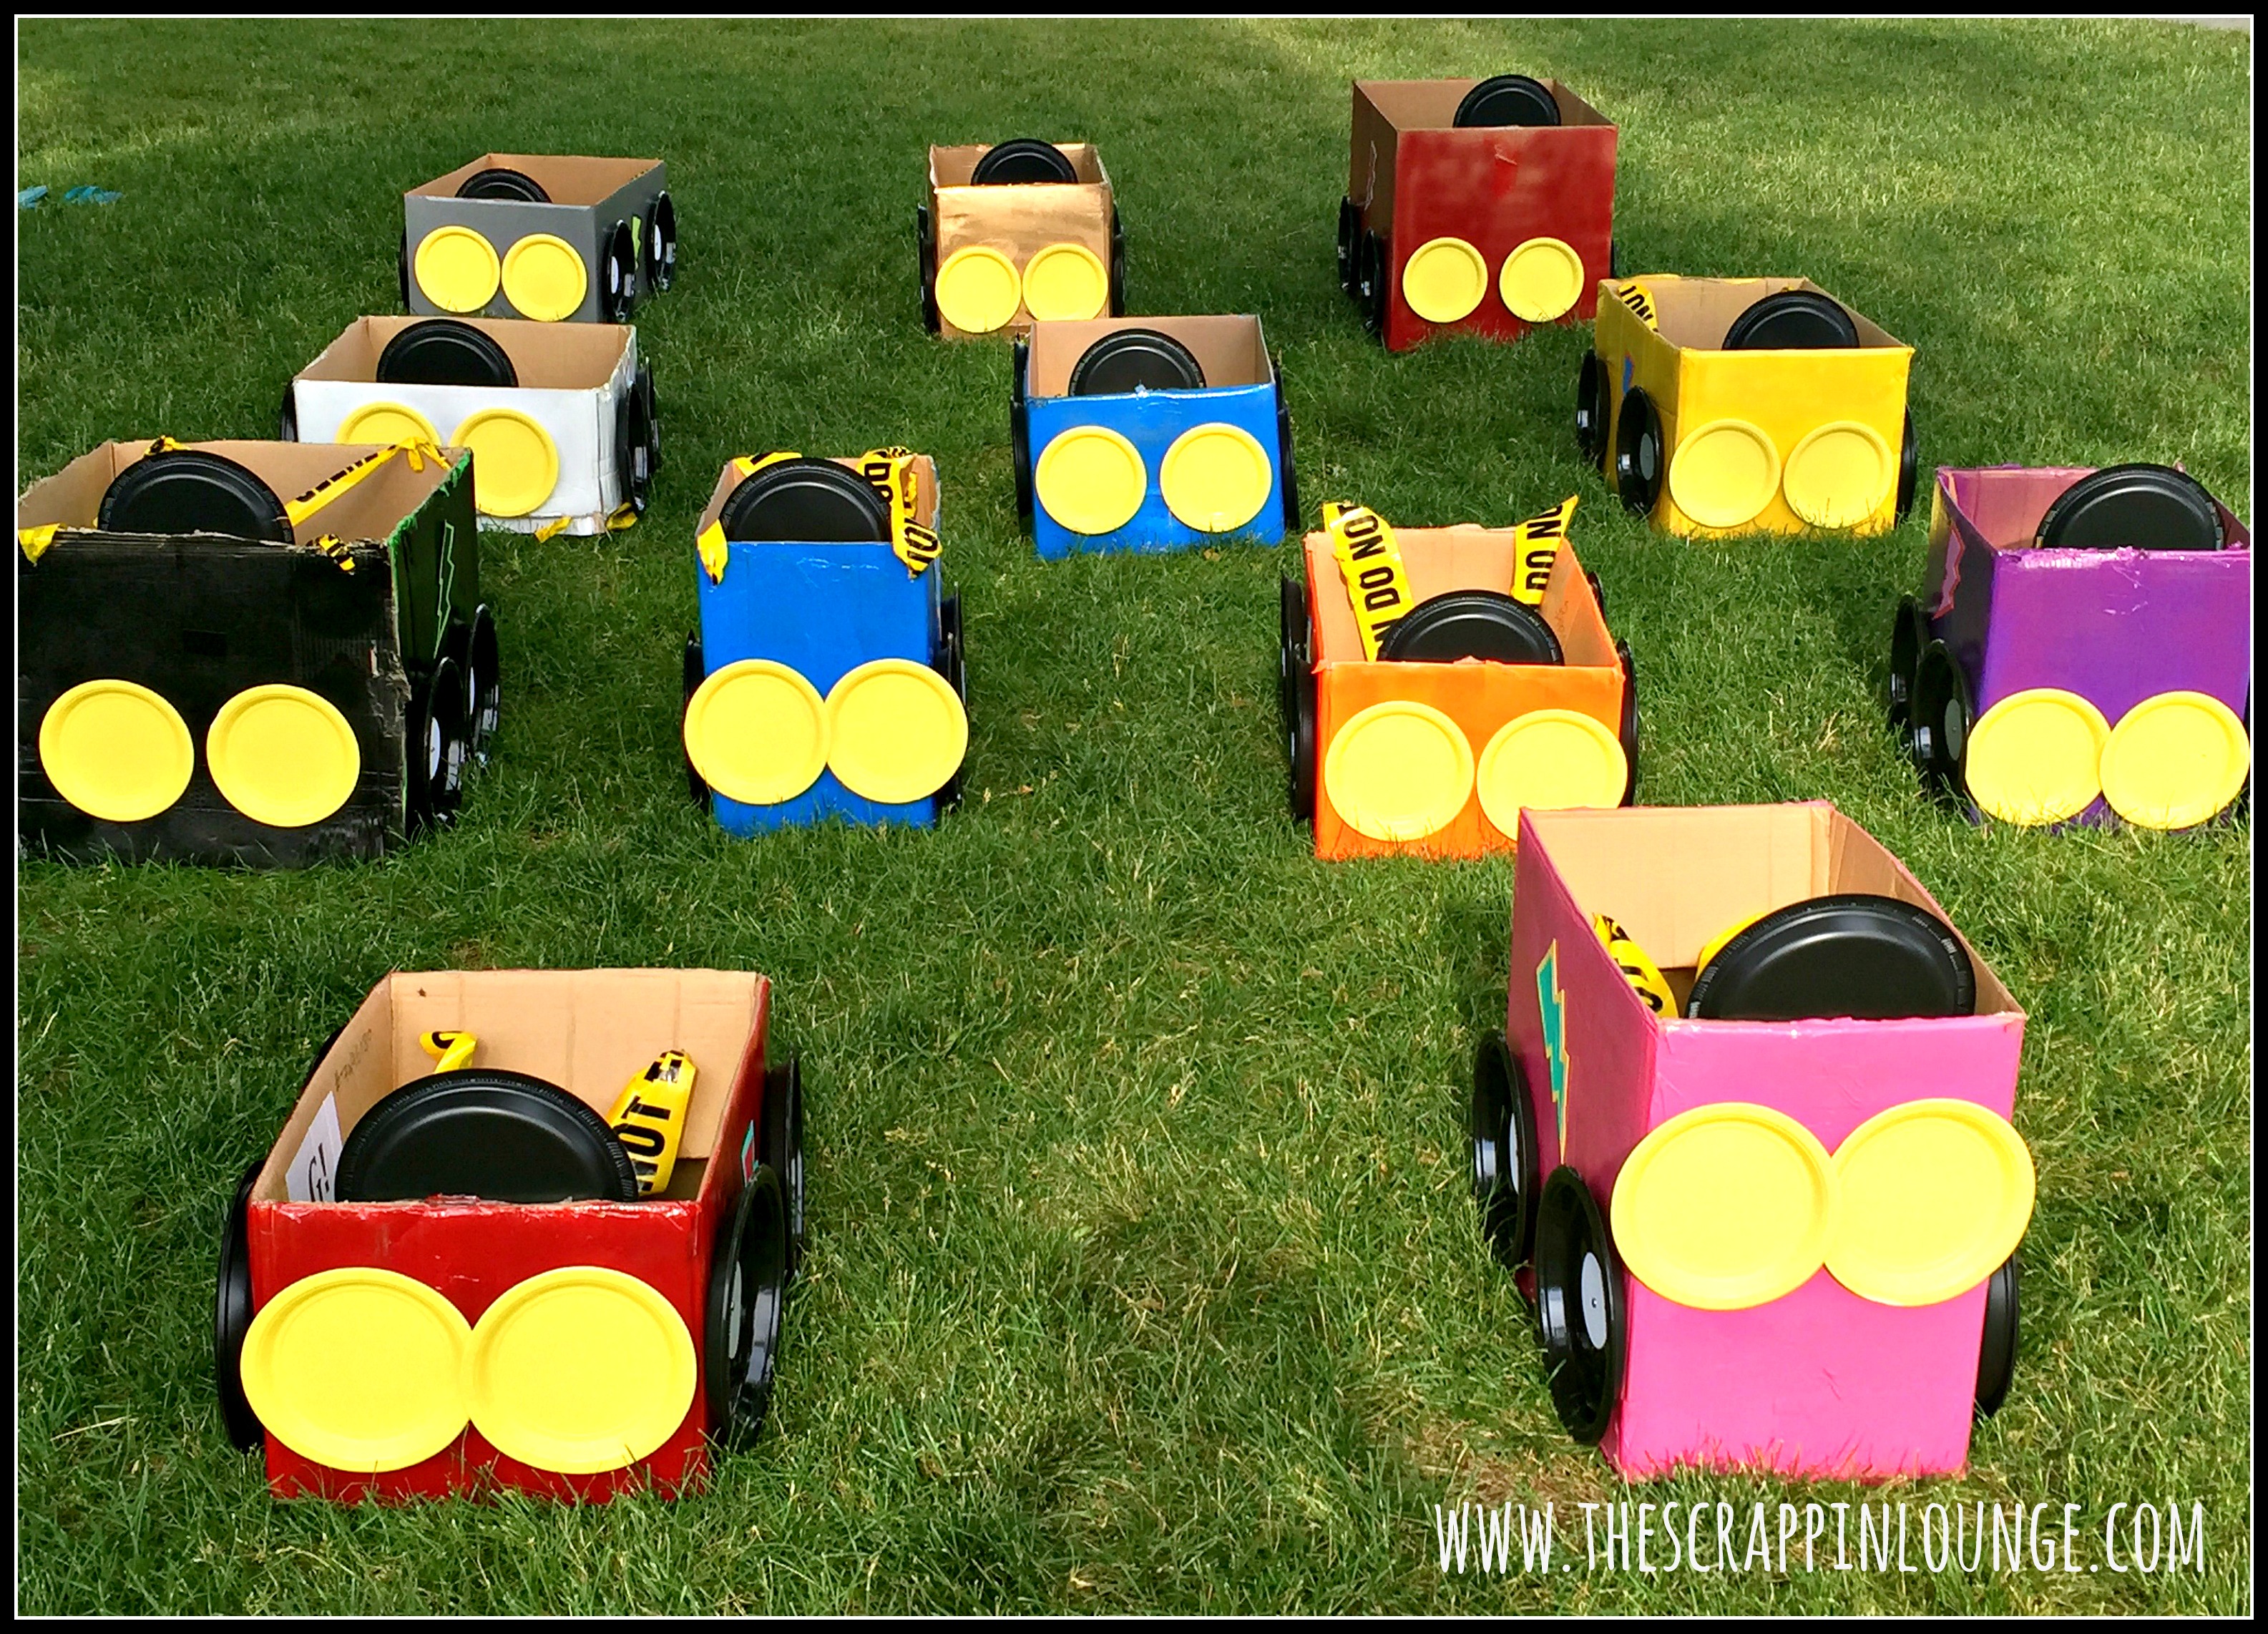
Another pic from the back

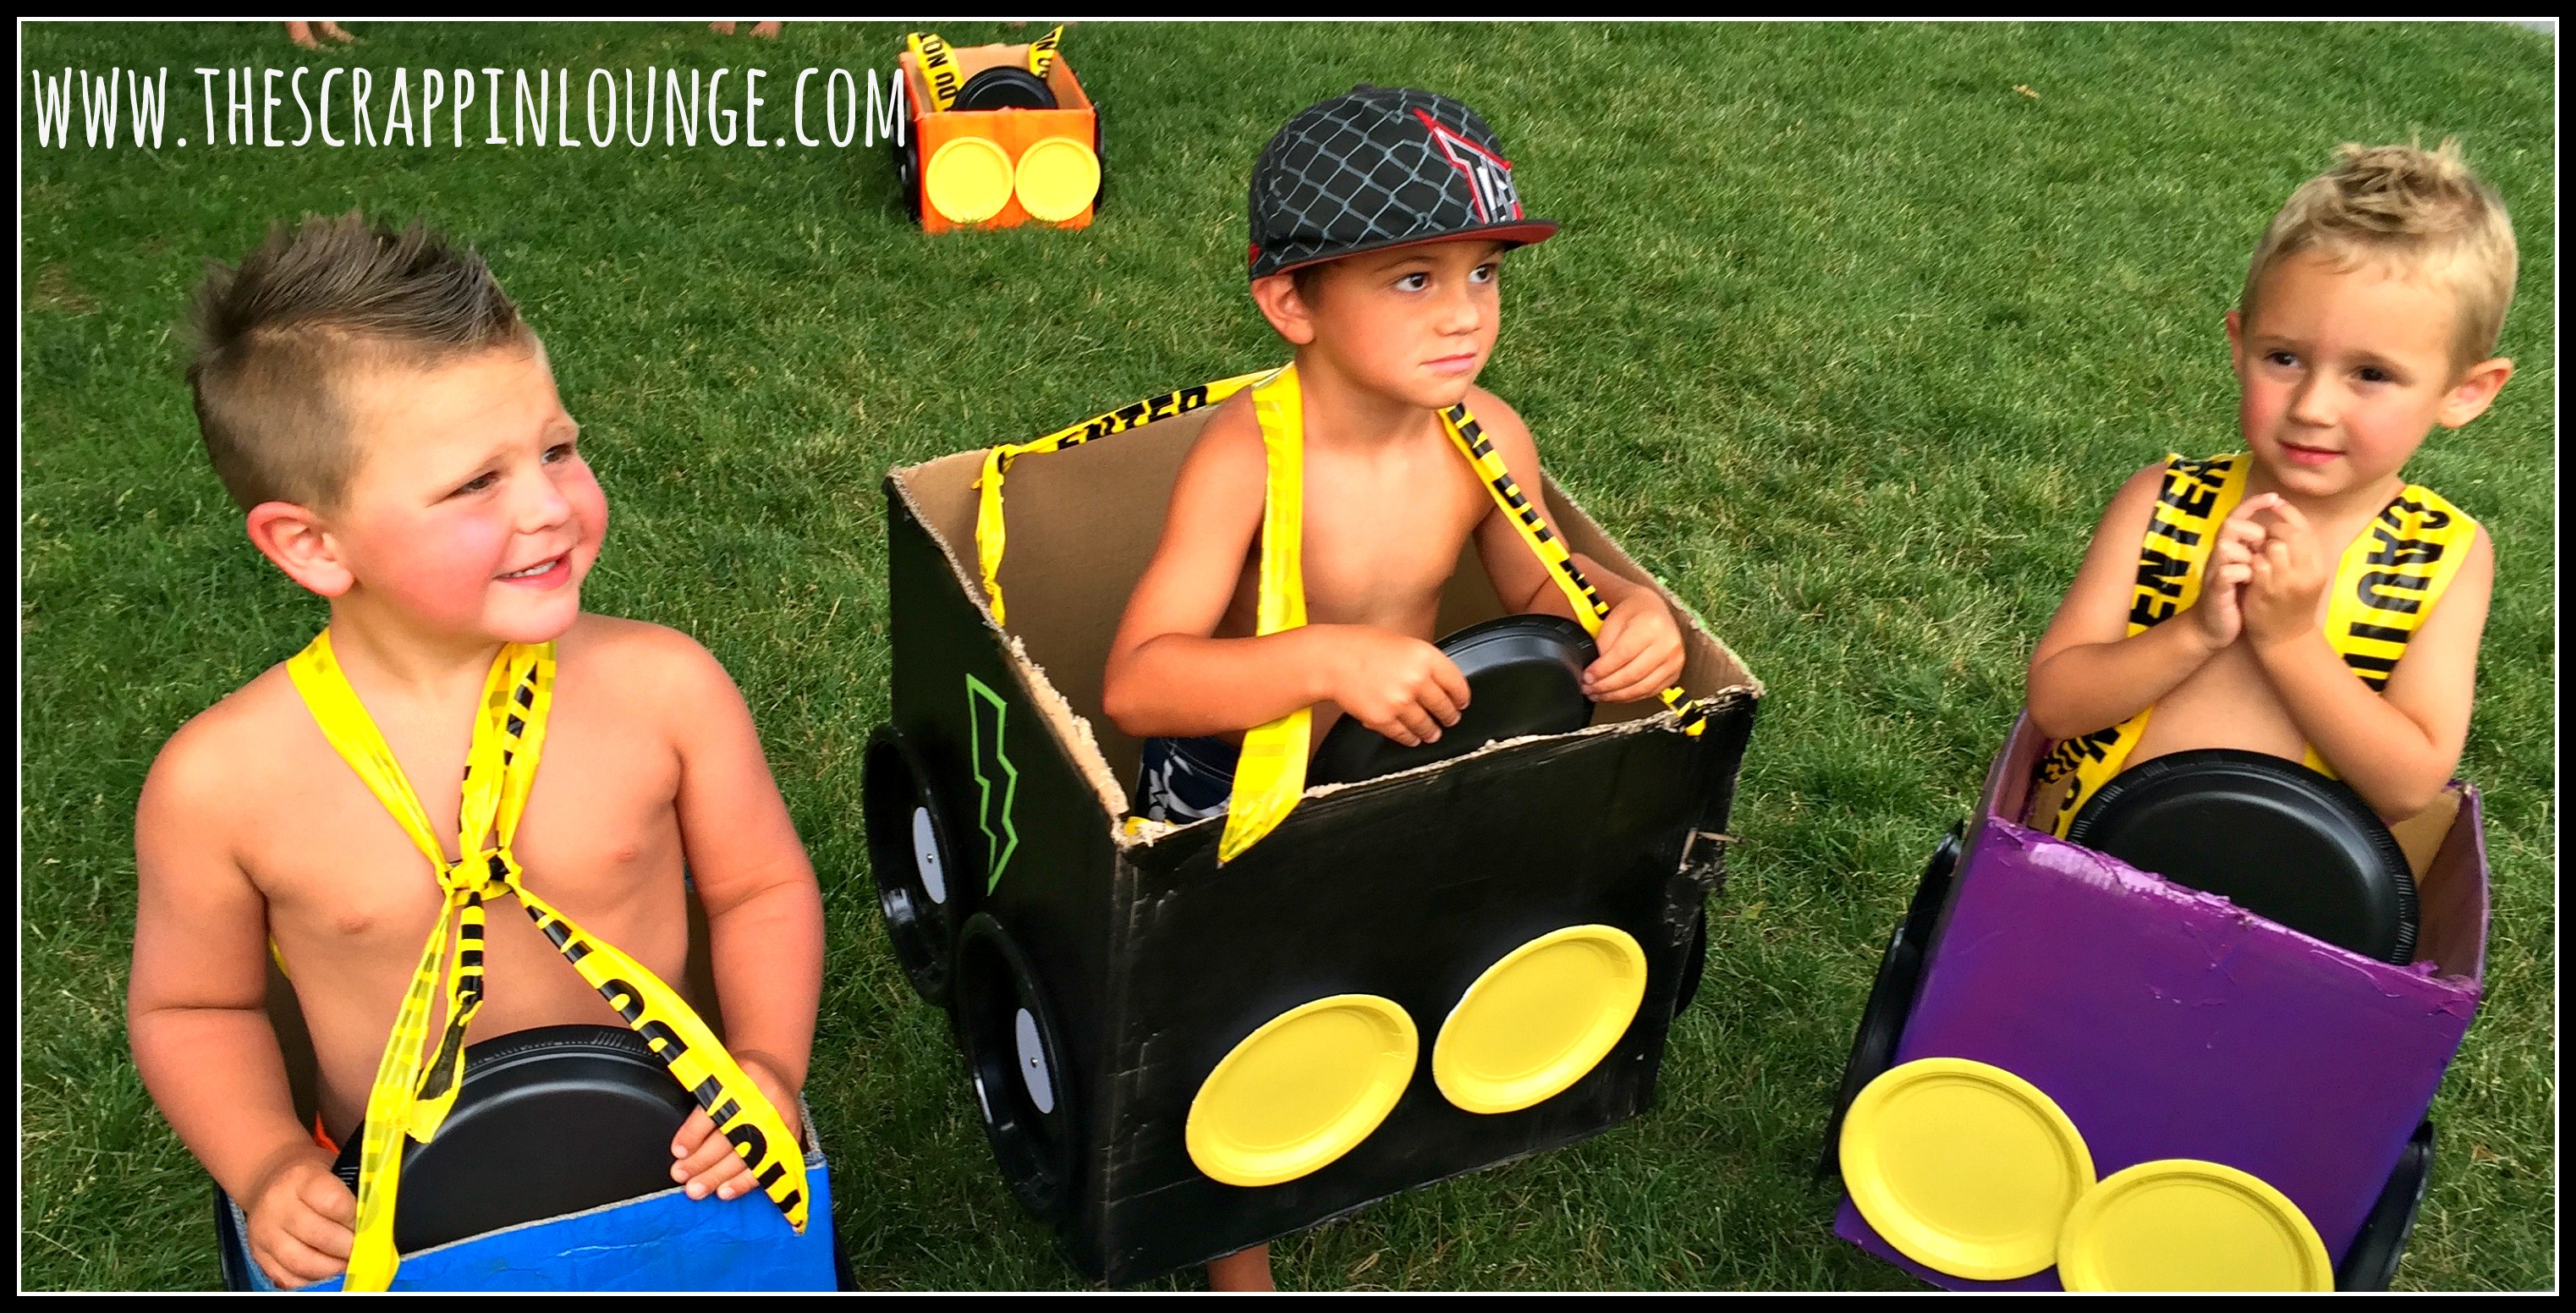
Gentlemen start your engines……
Here is a quick video of the obstacle course….
This was such a blast watching these kids laugh and run through this fun race!!
Happy 4th Birthday my sweet nephew Kulia!!! Aunt Mandee sure loves you!!!
If you liked today’s step by step tutorial be sure to Comment, share, pin and tweet this fun post! Loves- Madge